Have you ever tried to make a composition between a real footage and a computer generated animation? At least do you know how it's done? To make this kind of composition we need to use a technique called Chroma Key or Blue Screen like some people know it. The technique is very simple and can be applied with almost any 3d animation software.
The animation created by the 3d software, must have a background filled with a solid color. There are two colors often used, green and blue. I use to fill the background with a pure RGB green (R=0, G=255, B=0) or a pure blue (R=0, G=0, B=255). These are the most often used colors, but any color can be used in the background. After your animation is done, software will make the composition erasing the background from the animation.
Do you want to see a real example of a green background for Chroma Key? In Image 01, I'm in a TV studio that uses a green background to create virtual scenarios.
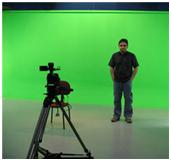
Image 01
(Yes, that`s me�)
I will show here an example of a composition that uses Adobe Premiere and Blender 3D. Besides Premiere there are a lot of other software that work with Chroma Key like Final Cut, After Effects, Combustion and Shake. I'm working with Premiere in my classes, so I this is my choice for this tutorial.
I'm going to use a real video and a computer animation, with the composition in mind. See in Image 02 a frame of the video, and in Image 03 a frame of the 3d scene.
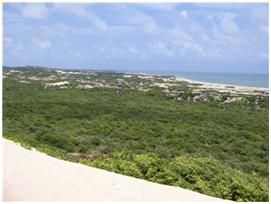
Image 02
Image 03
The first step to prepare the 3d animation is set the environment background in Blender. I will set the color to green. This setup can be done in any 3d software. See in Image 04, that I've set the background to a pure green.
Image 04
With this setup the result of the renderings will be the same scene, but with a green background. You must try to match the color and illumination of the scene with the video to get a more realistic composition.
Image 05
If this was a single frame composition, the magic wand of gimp or photoshop would do the job! But for animation a video editor is necessary. What's the next step in Premiere?
The first thing to do is setup a project in Premiere, with the appropriate settings for your video; import the files to the Project Window. All your files will be stored there to build a video sequence in Premiere.
After both files are in the Project Window, we can place them in the video sequencer. The video file must stay in video channel below the animation file created with Blender. We can see in Image 06, that the video and the animation file are in video channels 1 and 2 respectively.
Image 06
Now all we have to do is add a video effect to the video file. There are a lot of video files available in the effects tab of Premiere. All effects are separated by folders and type, as we can see in Image 07. We will use a effect that is located in the Keying folder, called Green Screen Key. This effect will use a preset of configurations to work with green screens.
Image 07
In Image 07 we can see that the green screen have been removed from the animation. If some small pixels from the green background still get in the video, it`s possible to make some adjustments in the effect configuration. If both videos are in big resolution, the effect will remove the background easily.
See the result in Image 08.
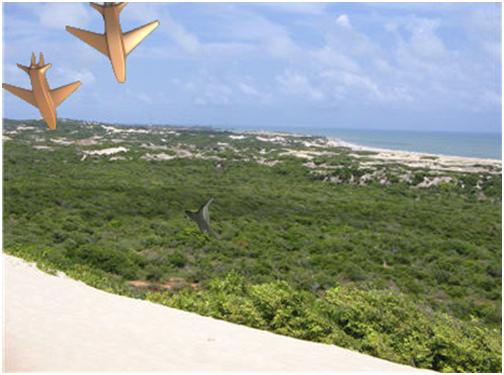
Image 08
Now you know how this kind of composition is made of, using Chroma Key. The image still need some color correction and adjustments in illumination, but for the Chroma Key example it`s enough.
Well, with this tutorial it`s clear that we can integrate footage produced in Blender with any video editor. Now it`s just matter of make some videos to composite with 3D!
Sorry for my English! 🙂