One of the most important aspects of the architectural projects is showing the measurements as with dimension lines, or as some know the “quota lines.” Those lines are present in the architectural projects to demonstrate the dimension visually, among two points. Until some days ago I had never seen any similar resource in 3D, since the habit is to use those lines just in 2D projects. That was like this until I found a Script for Blender called Caliper. That Script creates dimension lines in 3D!
That is a great help to demonstrate distances in a 3D presentation (Only for who uses blender!). Besides demonstrating the distances, that Script represents the dimension lines as objects of Blender. Then it`s possible to manipulate the lines with animation.
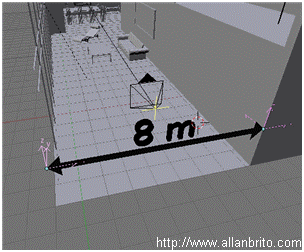
Image 01
To use the Script it is necessary first to visit a site: http://www.alienhelpdesk.com/files/download.php?file=BlenderCaliper.1.4.py, there you should copy the file “BlenderCaliper.1.4.py” and place it in the Scripts folder of Blender. I will be using the Caliper 1.4, for this article and Blender 2.43. There is something interesting about this Script, who developed that tool was a company called “Render Reality LLC”, it`s not a user's work. The company liberates the Script under the GPL license, so that all can use and alter the code freely.
After paste the file in the Blender Scripts folder, it will be possible to access it using the Scripts Window. Caliper can be found in the Wizards category, as display the image 02.
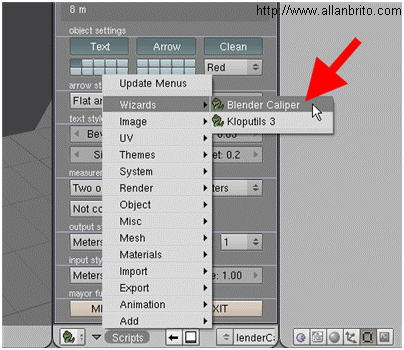
Image 02
Several configuration options can found on the Caliper options, as shown in Image 03. It will be necessary to know most of those options to use Caliper.
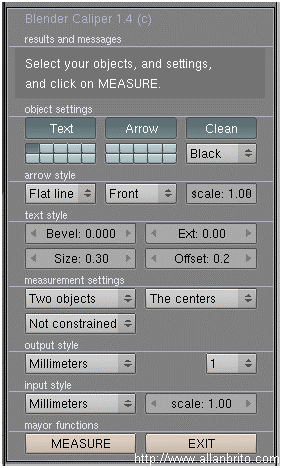
Image 03
The configurations of Script are divided in the following way:
Object Settings
Those are general configurations, where we can choose in which layer the objects are created and the color used in the lines. Three buttons are available Text, Arrow and Clean.
With the button Text, we can choose if we want or no a text to be created with the dimension line in 3d. With the button Arrow, can enable or not the creation of an arrow in the dimension line.
In the inferior part of those options it is possible to choose the layer in that the dimensions are created (be careful for not selecting a turned off layer). Therefore the right of that selector of layers, we can choose the color of the material that it will be applied to the dimension line (Image 04).
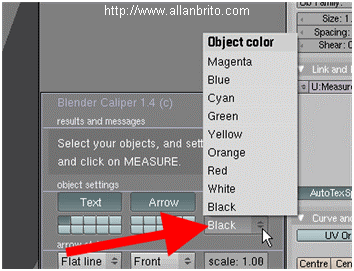
Image 04
Arrow Style
Here we can choose the appearance of the arrow that represents the dimension line. There are three fields that can be edited, being the first for the appearance of the created arrow. The second for the positioning of the arrow and the last determines the size of the arrow. See some types of arrows in the images below:
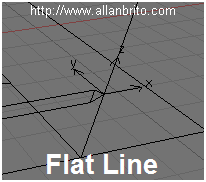
Image 05
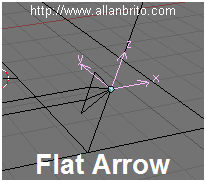
Image 06
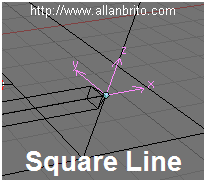
Image 07
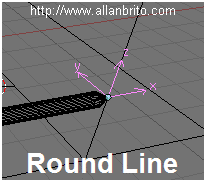
Image 08
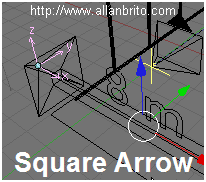
Image 09
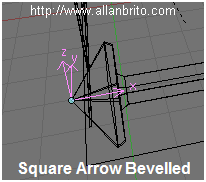
Image 10
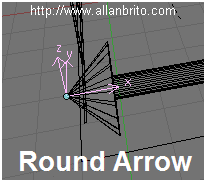
Image 11
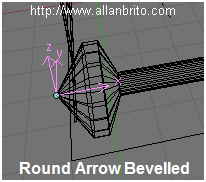
Image 12
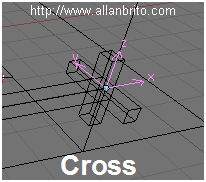
Image 13
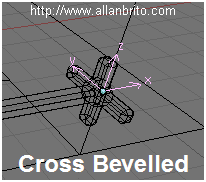
Image 14
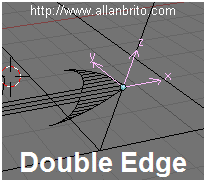
Image 15
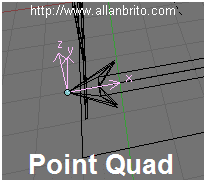
Image 16
Those are the types of arrows that we can use for a dimension line. Besides those arrows it is possible also to choose the positioning. As display the Image 17.
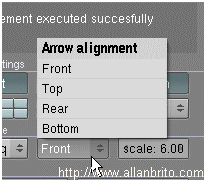
Image 17
Text Style
Those are general configurations on the texts that appear in the quota lines. Here it is possible to determine the size, thickness and suavização of the texts. The options of configuration of the relatively simple healthy text, as display the Image 18.
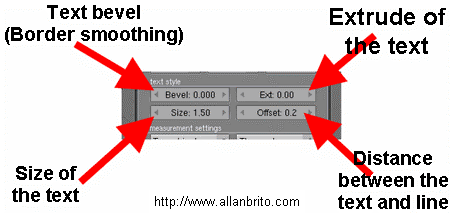
Image 18
Measurement Settings
Here we chose how the distance will be measured by the dimension line. We can choose if the measure will be done, among two objects and if the dimension will be considered between their centers or extremities. Choosing the option One Mesh, just objects belonging to the same object are considered for the dimension. In the option Two Meshes, two models are considered for the distance. With the option Two objects, two objects selected are used for the distance. That last option is the one I find more practice. It is possible to use Empty`s to mark the places that should have the dimensions measured.
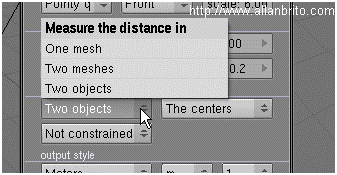
Image 19
Besides the possibility of choose which objects, that should participate in the creation of a dimension line, it`s possible to apply a restriction to the line. For that we used the option showed in the Image 20.
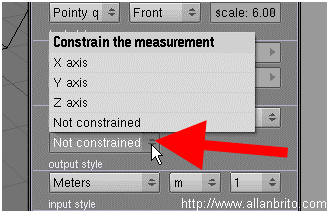
Image 20
It is possible to choose some point of reference for the measurement, In case the choice has been for Two Objects, just the option Object Centers (Center of the objects) it will be available. But choosing Two Meshes or One Mesh, the options change. See the options in the Image 21.
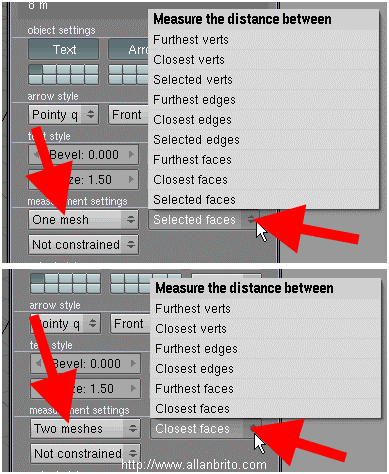
Image 21
The options vary in agreement with the choice. See what means each one of the options:
- Furthest Verts / Edges / Faces: Vertexes, Edges or more distant faces some of the other ones.
- Closest Verts / Edges / Faces: Vertexes, Edges or closer faces some of the other ones.
- Selected Verts / Edges / Faces: Vertexes, Edges or selected faces.
Output Style
In that option it is possible to choose the scale used to show the dimension of the line. Several options exist as Millimeters, Centimeters and other. We can still choose the level of precision of the dimension line, as display the Image 22.
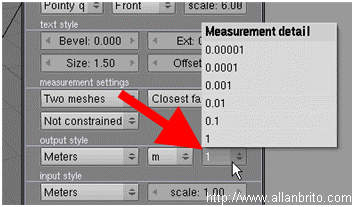
Image 22
Input Style
Here we can choose as the real dimension of the objects in 3D View of Blender will be considered. For instance, if the option Millimeters is selected two distant objects then amongst themselves 4 units are converted for 4 millimeters. It is still possible to apply a scale multiplier later.
Mayor Functions
In that last part of Script we have only two buttons, that are Measure and Exit. The first run the Script and the second leaves the tool. Then after all of the configurations be added, press the button Measure and the dimension line will appear!
Now you already know how to use that tool and may begin to add dimension lines in 3D in your presentations! In the example that I showed in the Image 01, I am using Empty`s since during the process I can store those objects in a layer and whenever it is necessary to update the values of the scale. It is like this possible to position Empty`s with Snap (SHIFT+S) and to remove the dimensions in a fast way.